Easter creativity season in coming! Are you intrigued by the art of painting but not sure where to start? Or perhaps you're looking to enhance your artistic skills with new techniques and ideas? Well, you've hopped to the right place! Let's embark on a creative journey to dive deep into animal painting with Benicci painting guide. In this tutorial, you'll learn the basics of animal portrait and tips on how to recreate the texture of the rabbit's fur using your paint brushes. We'll walk you through four simple steps to bring a charming bunny to life and show acrylic techniques, which are practical for both beginners and intermediate artists.
This artwork will brighten your Easter celebrations and add a touch of whimsy to any room all year round. Ready to begin? Gather your Benicci acrylic paints and paint brushes, and let's hop into action!
🧑🎨 Level: Beginner / Intermediate
🕑 Estimated time: 30 min
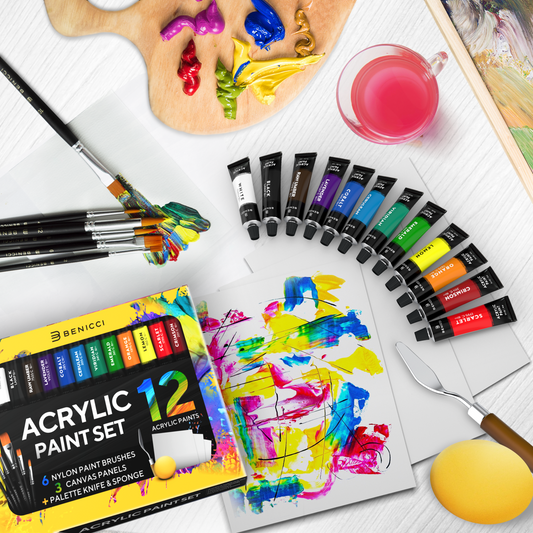
Materials:
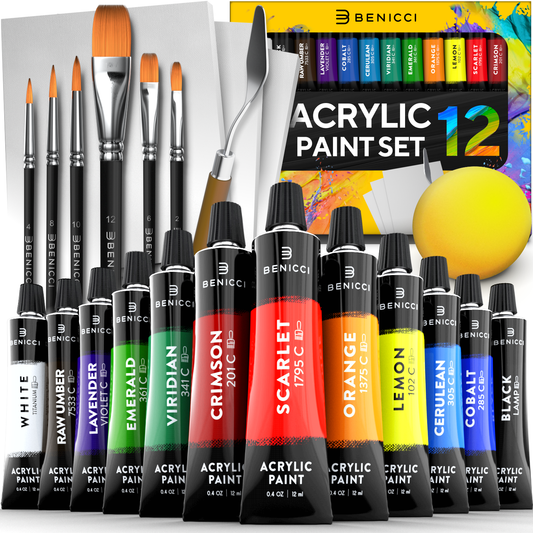
- Benicci Acrylic Paint Set of 12 Colors
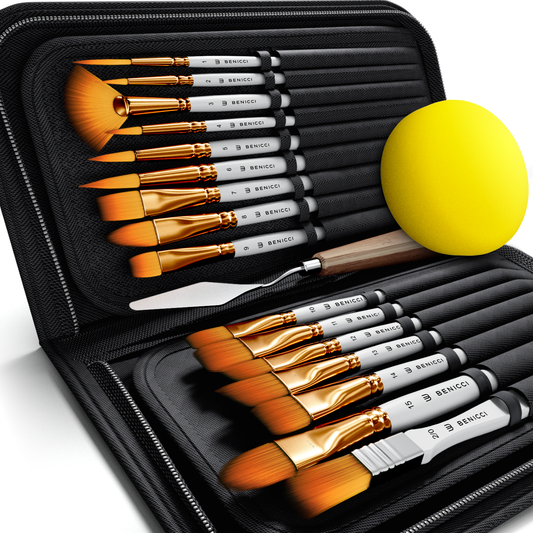
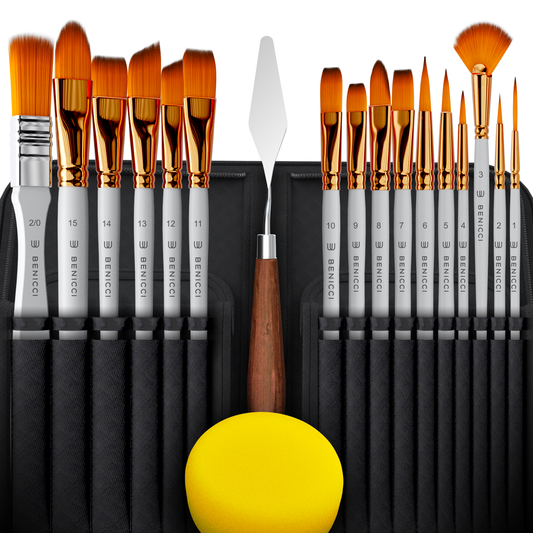
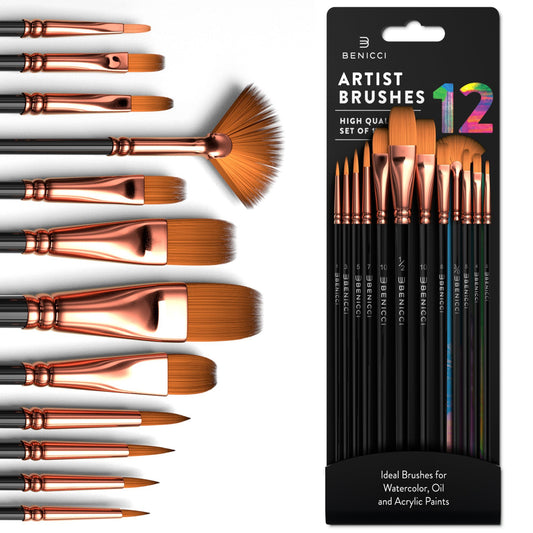
- Benicci Paint Brush Set of 16
- Canvas or high-quality paper
- Pencil for sketching
- Palette for mixing colors
- Water container for rinsing brushes
- Palette knife (included in Benicci painting sets)
Step 1: Painting the Background Layer
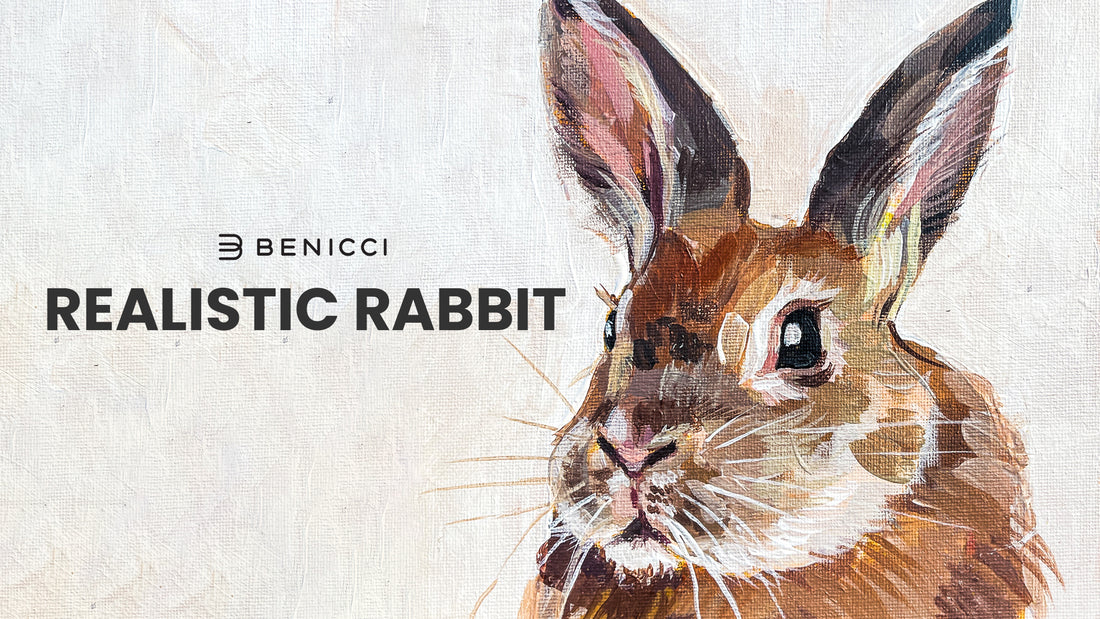
Begin by preparing a pencil sketch of the rabbit on canvas or paper. Feel free to use our drawing as a reference or create your own version.

Once the bunny's portrait is outlined, start with the base coat. Mix the ocher paint with a bit of water and apply it across the canvas with a wide brush. This initial layer provides a warm base for subsequent colors, adding a distinctive touch and softening the stark white of the canvas.

Step 2: Applying Basic Color Spots
It's time to shape our bunny's silhouette. With a medium-sized flat brush and a palette of natural colors—white, grey, brown, and beige—reminiscent of rabbit fur, begin your work.
☝️Quick Tip: Experiment with shades on your palette by mixing colors in varying ratios—for instance, blend one part white with one part brown to create one hue, and mix one part white with two parts brown for another. This technique offers a variety of shades, enhancing the fur's texture.

Apply the paint in distinct spots along the rabbit's outline, starting with simple colors like white or grey and gradually incorporating others from the palette. Employ darker shades for the shadows, brown and beige for midtones, and white for the highlights. Embrace experimentation; our approach favors impressionistic color spots over strict realism, akin to pointillism, to build texture.
☝️Quick Tip: Draw inspiration from celebrated rabbit paintings, such as Albrecht Durer's "The Hare" with its meticulous realism, or the whimsical rabbits in Beatrix Potter's illustrations. While our style is less illustrative and more naturalistic, it similarly captures the rabbit's charm.

Afterward, lightly blend these spots with a dry, wide brush to achieve a fluffy fur effect, setting the stage for further detailing.

Continue by painting around the rabbit's head with white acrylic to establish a clean background, enhancing the subject's prominence. Utilize the palette knife for broad strokes. Complete this step by painting the eyes and nostrils black.
Step 3: Painting the Fur
It's time to add depth with the rabbit's fur, a key step in achieving realism. Prepare small and medium-thin round brushes from Benicci brush set.
Begin around the eyes, using beige and white to mimic the fur's direction, which generally lengthens as it moves away from the eyes.

Address the muzzle area, blending short, dotted strokes with longer ones in white, to create a textured "beard" effect. Include small brown dots where whiskers emerge.

Focus on the ears, using mainly white and beige with touches of pink to replicate the softness of ear fluff. Fine brown hairs should be subtly accented.

Step 4: Finishing Touches
Now, finesse the finer points. Refine the individual hairs on the rabbit's face, highlighting them with white using a fine brush for a sense of depth and enhanced realism.

Draw the whiskers with fine white lines, adding a hint of beige where shadows are cast, blending into the white background.

Insert white in the iris and add any final highlights you deem necessary. Your bunny is complete!

Nice work!

Congratulations! Your bunny is now ready to bring joy to any room or heart. With the steps provided and your Benicci art supplies, you've brought to life a piece that's not just an Easter delight but a timeless treasure.
Remember, at Benicci, we're dedicated to nurturing your artistic talent. Our art sets, including the Acrylic Paint Set of 12 Colors and the Paint Brush Set of 16, are designed to support your creativity at every brushstroke.
For a full visual guide, watch our detailed video tutorial and see each step in action. Dive deeper into the artistic process and let your creativity leap like a bunny on a bright spring day!
We can't wait to see the charming bunnies you create with Benicci art supplies. Share your creations in the comments down below and join our community of budding artists. Here's to many more artistic adventures together!